Gates

Gates

Thursday, February 11, 2021

Back Over


The Flip

The Scar joint breaks are sure ugly! Thankfully after some work and fiberglass application followed by primer. It doesnt look all that bad!


On Deck

I wish had placed the rowers footwell a bit more forward. Being 6'2" places me a little further back. Something to take into consideration when placing the rowers foot well. The rest of the decks were interesting getting on and flush. Lots of measuring. It's a lot more fun than sanding so I'll take it!


Covid

 It's been a while since I have posted here and a lot has happened. First I'm going to upload the pictures and see how long that takes. Then write descriptions. There has been a lot of learning and mistakes but, have recovered since them. 

After sitting in the garage. My rookie scarf joints split. Thankfully I clamped them back up and fixed the split. Mixing the epoxy with with saw dust really helped.


Tuesday, April 18, 2017

Attaching the Floor


So it took a while to get too... but Avery and I got to tacking the floor to sides. Took us all afternoon, but a few beers later we got it all to match up and lined it will an epoxy fillet made from sawdust. Finding the rough peanut butter consistency required a lot more sawdust than anticipated. We end up laying it up two different times. The second being after the tacks were removed. But now the boat is mobile and doesn't have to be held up the rocker blocks. Next up is a whole ton of sanding, applying some fiberglass tape. Then hitting the floor with some 24oz fiberglass bi-axial cloth.


Tuesday, March 7, 2017

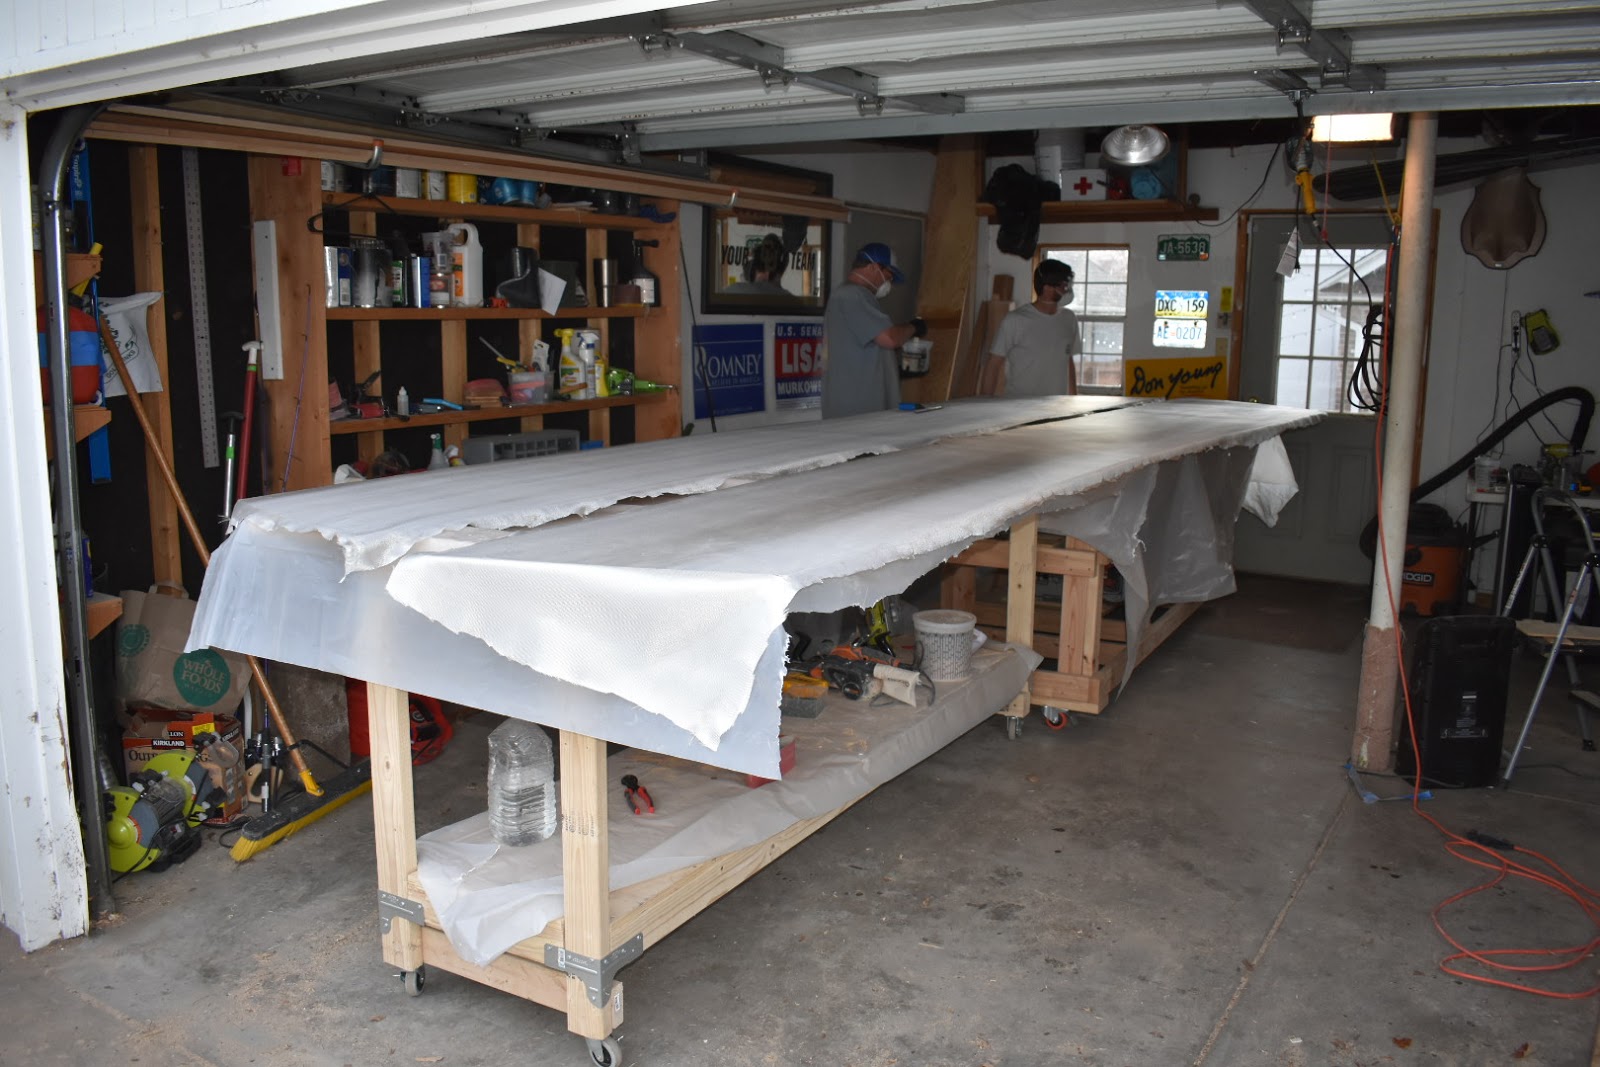
Glassing the Side Panels


"A picture is worth a thousand words," But I must say that friends and the squeegee are worth more than that.

Friday, February 10, 2017

Fiberglassing the Bulk Heads, Bowpost and Transom Cuts


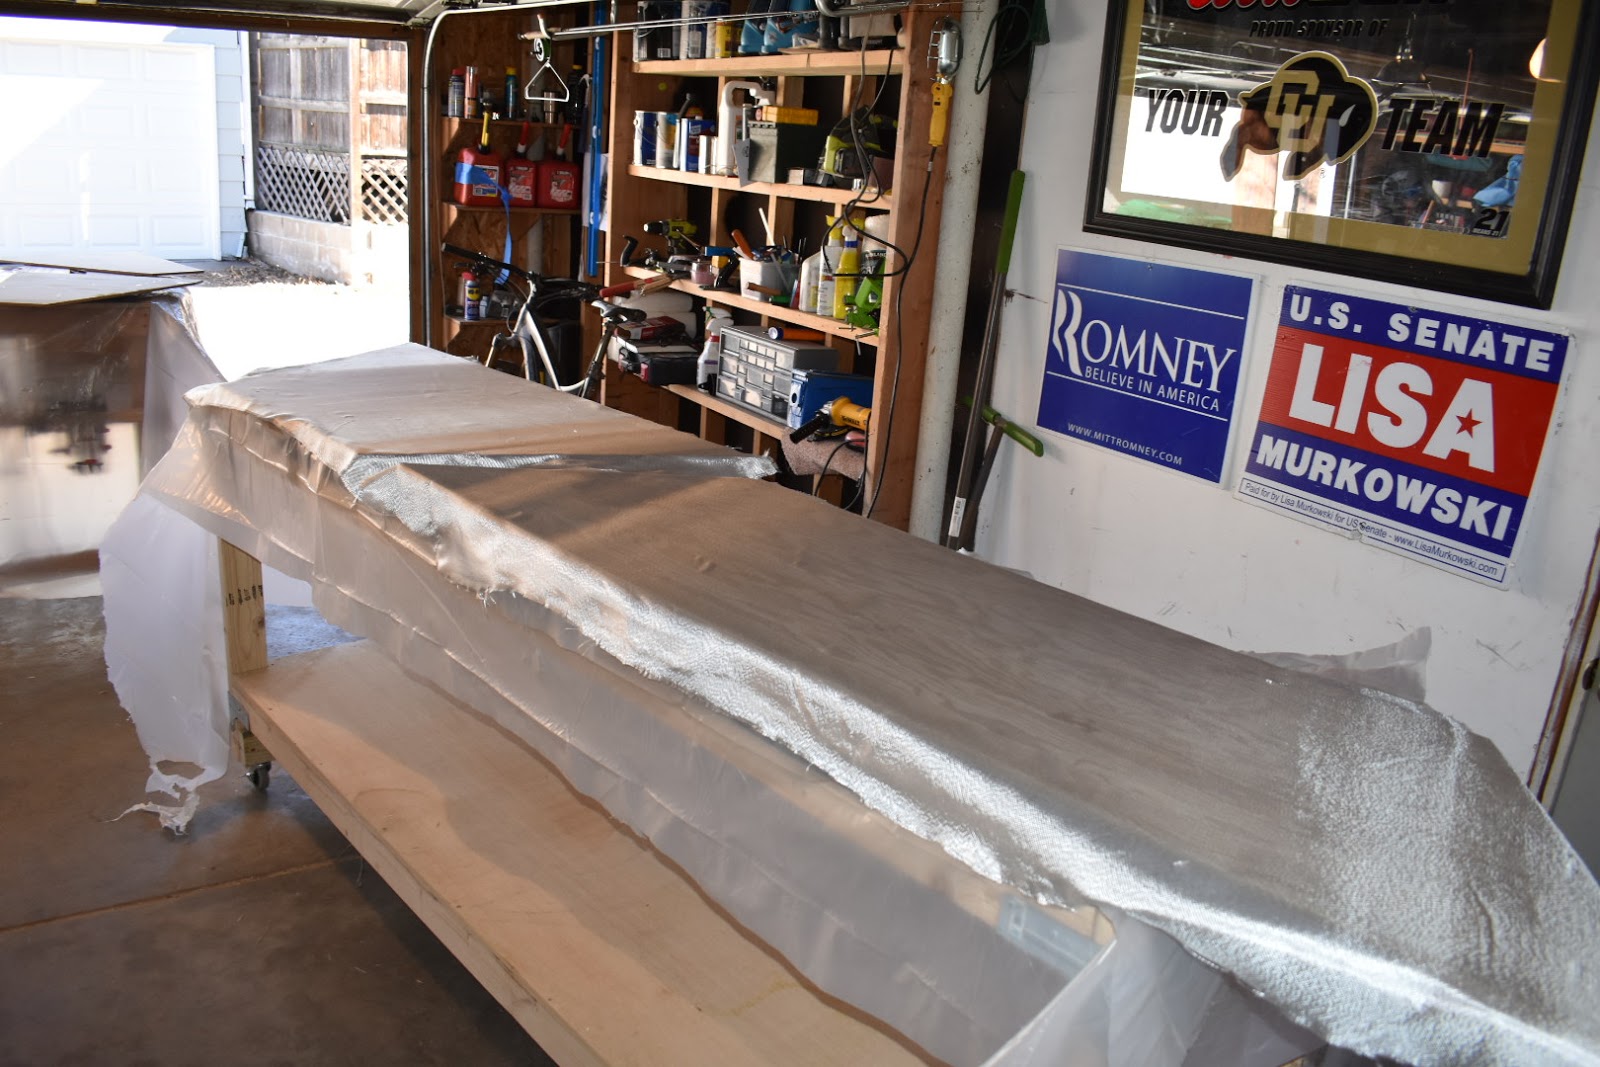
Today we cleaned out the garage and fiber-glassed one side of the bulkheads. We made small batches, maybe about 15oz batches, using Resin Research Epoxy,  First we coated the bulkheads, and then added the pre-cut fiberglass and applied more epoxy and used rollers to smooth it all. I believe this is called the wet-method." We'll see how it all tuned out tomorrow.

Safety first. First Aid kit, Fire extinguisher, and canteen of water just in case anything gets really hairy.


Above are the pieces after waiting a few days. Spoke to Greg Loehr from Epoxy Research about how long it should take to harden. He has been extremely helpful. We figured out that the epoxy didn't set because of the low temps.

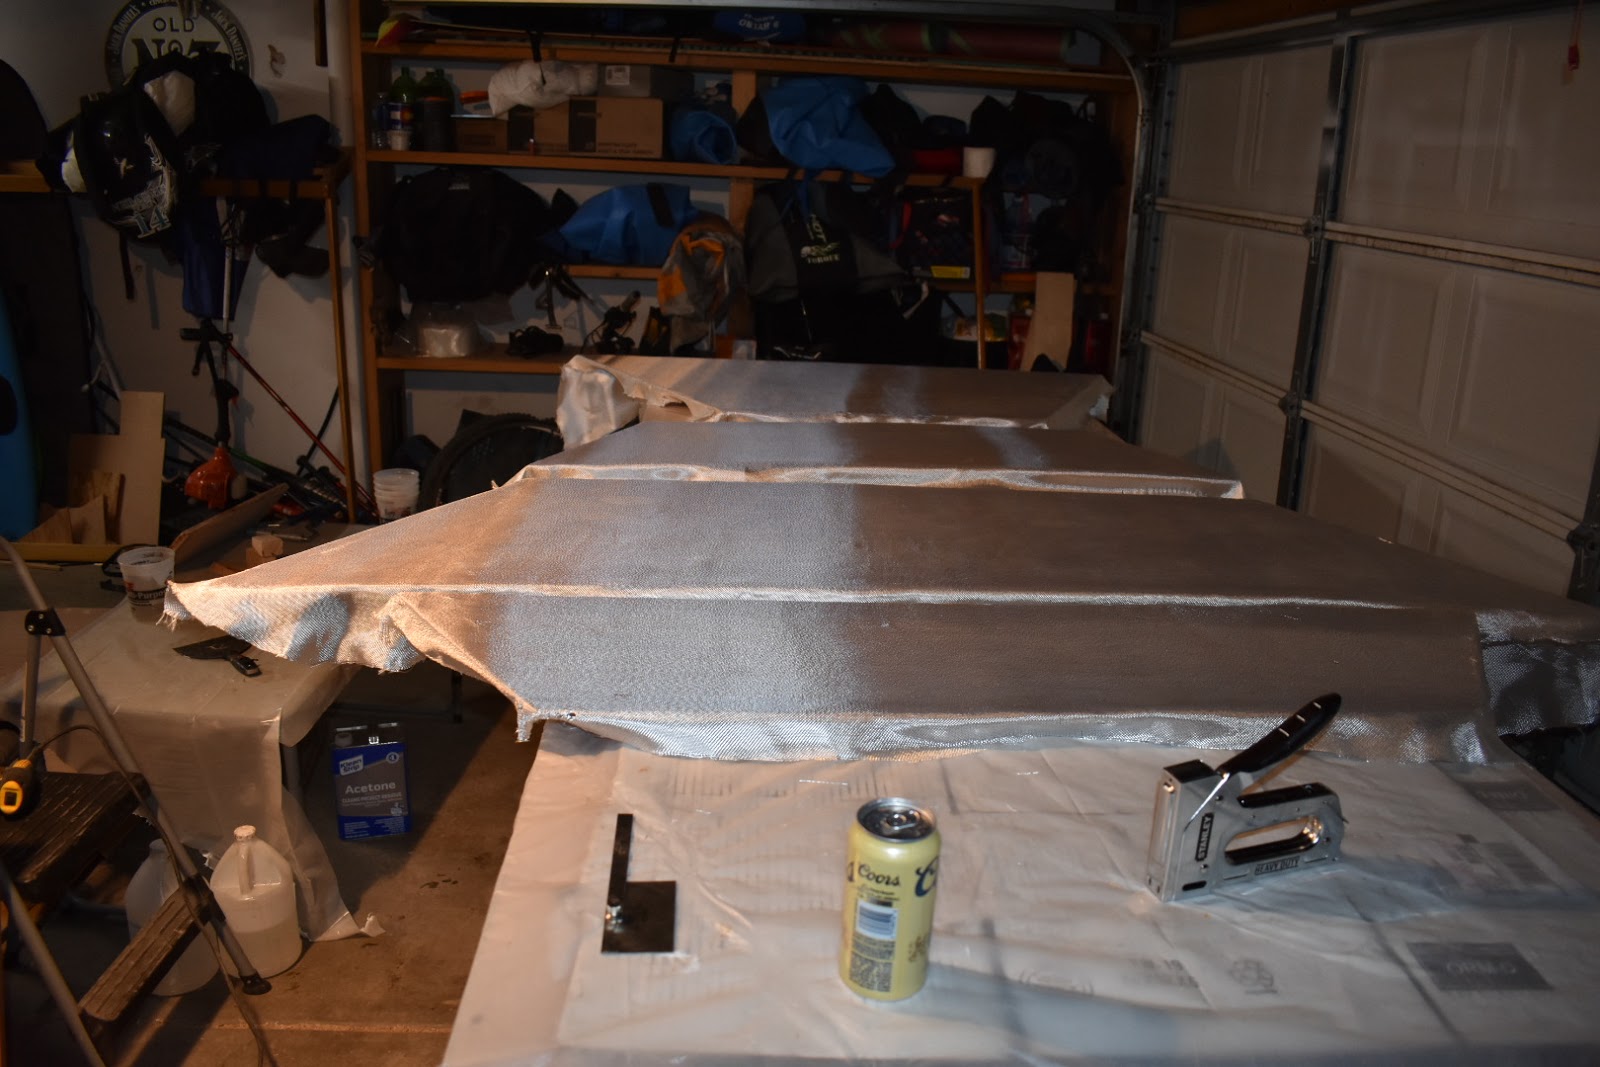
Second go around I used the dry method of applying the epoxy with patches of that were around 25 oz.  The pictures show the prep below, but the results were unreal. The epoxy hardened up and looks great. The 70 degree temps definitely helped.


So after a few trial and errors we have refined our method. First we made a bunch of blocks to go under the bulkheads so the epoxy doesn't drip under. 

The bowpost and transom have been more difficult than we had anticipated. The first bowpost and transom we cut to short and narrow. So we redid that. My advice for this is to leave plenty of room. Ripping the bevels with the table saw required some extra room.


Links: 
http://www.westtavaputs.com/2015/11/cutting-panels-glassing.html