Gates

Gates

Tuesday, April 18, 2017

Attaching the Floor


So it took a while to get too... but Avery and I got to tacking the floor to sides. Took us all afternoon, but a few beers later we got it all to match up and lined it will an epoxy fillet made from sawdust. Finding the rough peanut butter consistency required a lot more sawdust than anticipated. We end up laying it up two different times. The second being after the tacks were removed. But now the boat is mobile and doesn't have to be held up the rocker blocks. Next up is a whole ton of sanding, applying some fiberglass tape. Then hitting the floor with some 24oz fiberglass bi-axial cloth.


Tuesday, March 7, 2017

Glassing the Side Panels


"A picture is worth a thousand words," But I must say that friends and the squeegee are worth more than that.

Friday, February 10, 2017

Fiberglassing the Bulk Heads, Bowpost and Transom Cuts


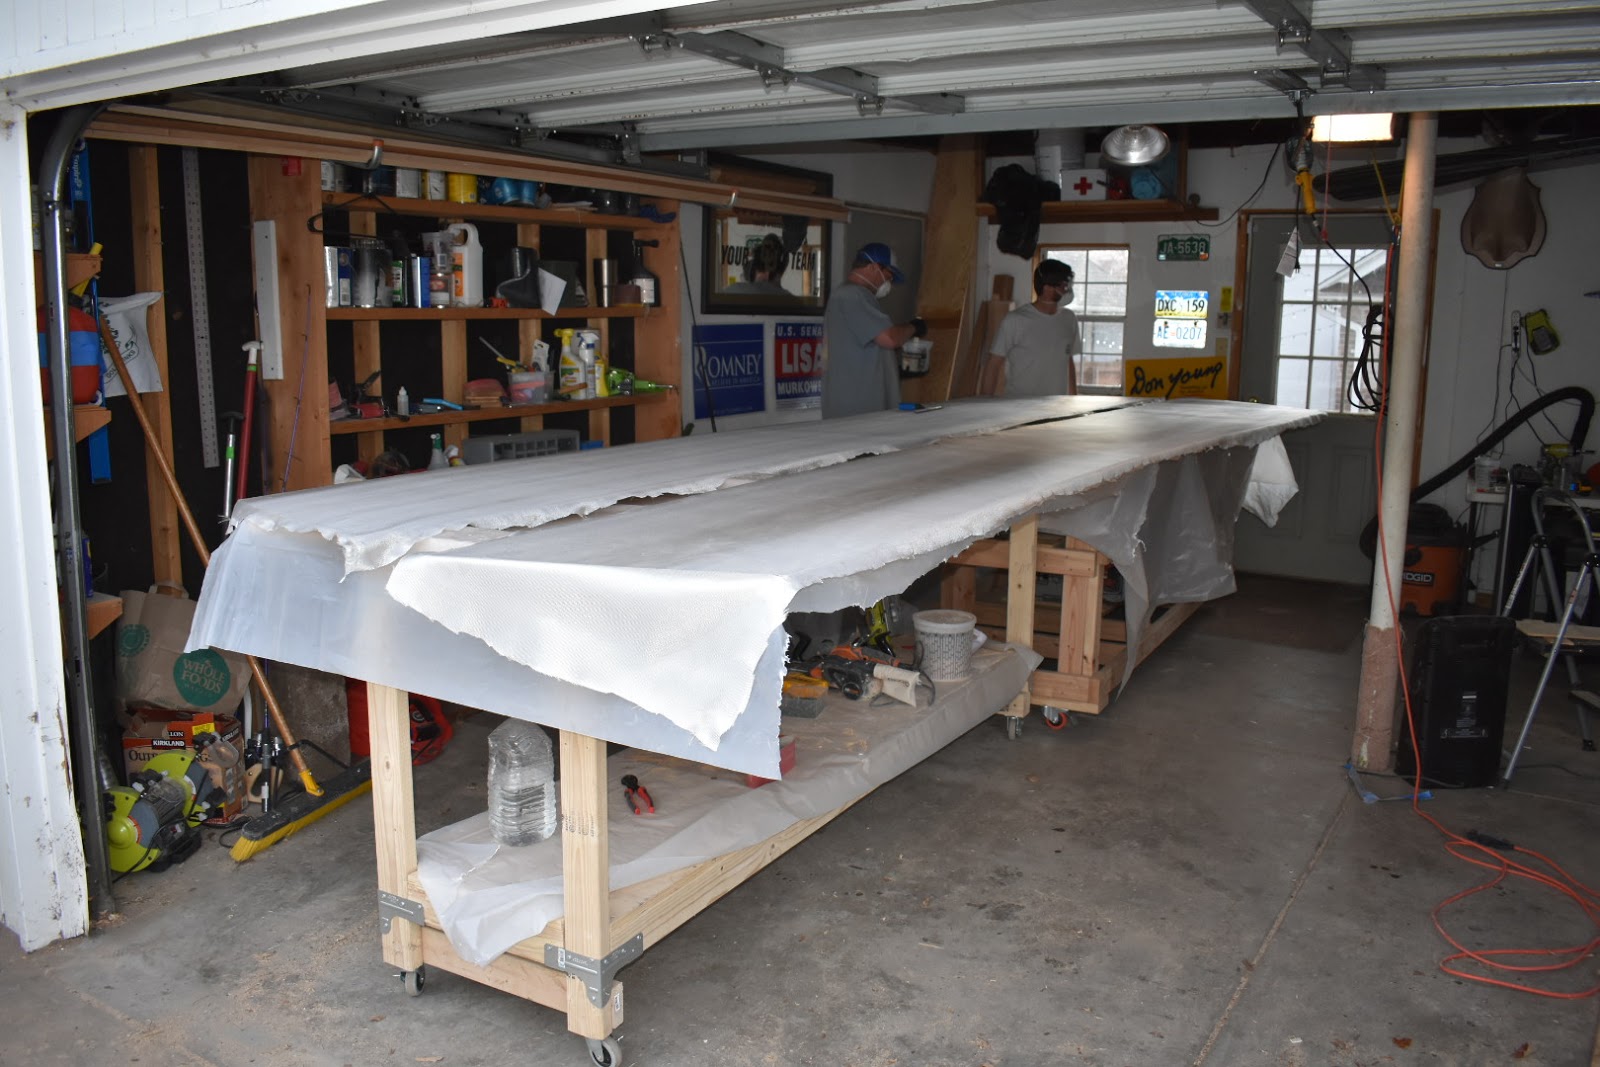
Today we cleaned out the garage and fiber-glassed one side of the bulkheads. We made small batches, maybe about 15oz batches, using Resin Research Epoxy,  First we coated the bulkheads, and then added the pre-cut fiberglass and applied more epoxy and used rollers to smooth it all. I believe this is called the wet-method." We'll see how it all tuned out tomorrow.

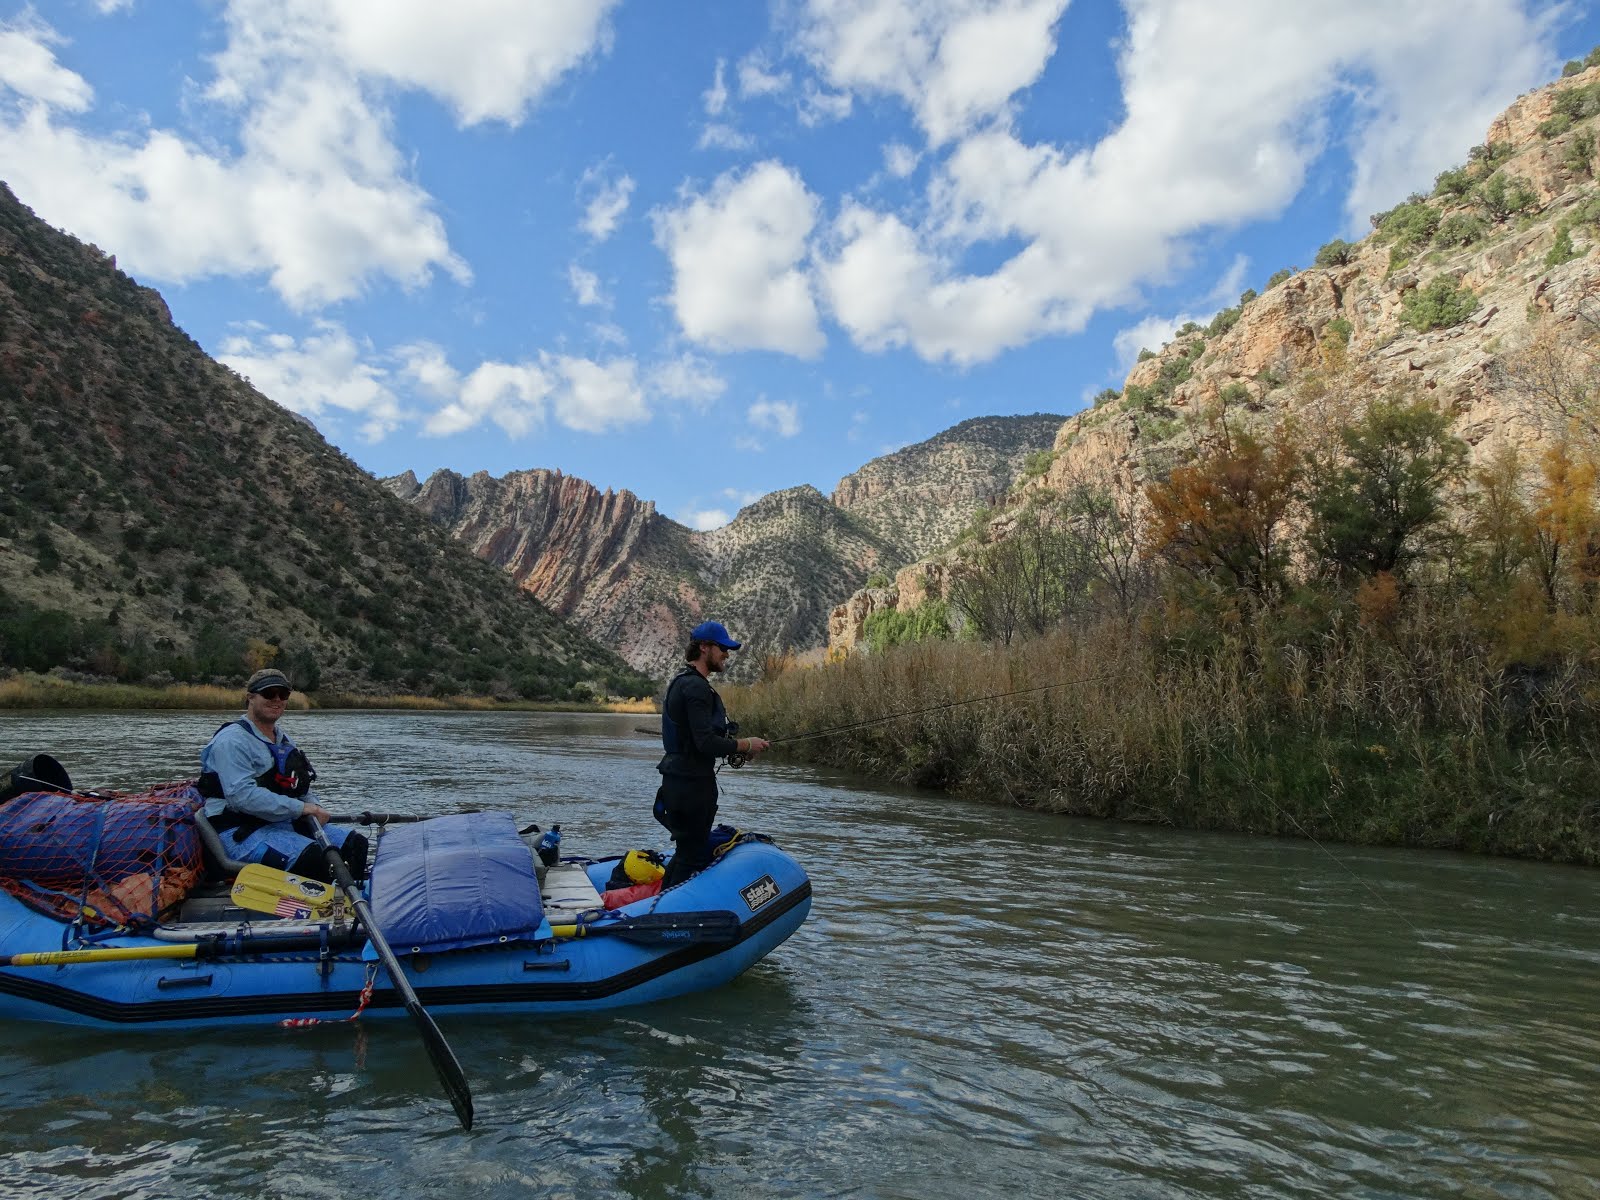
Safety first. First Aid kit, Fire extinguisher, and canteen of water just in case anything gets really hairy.


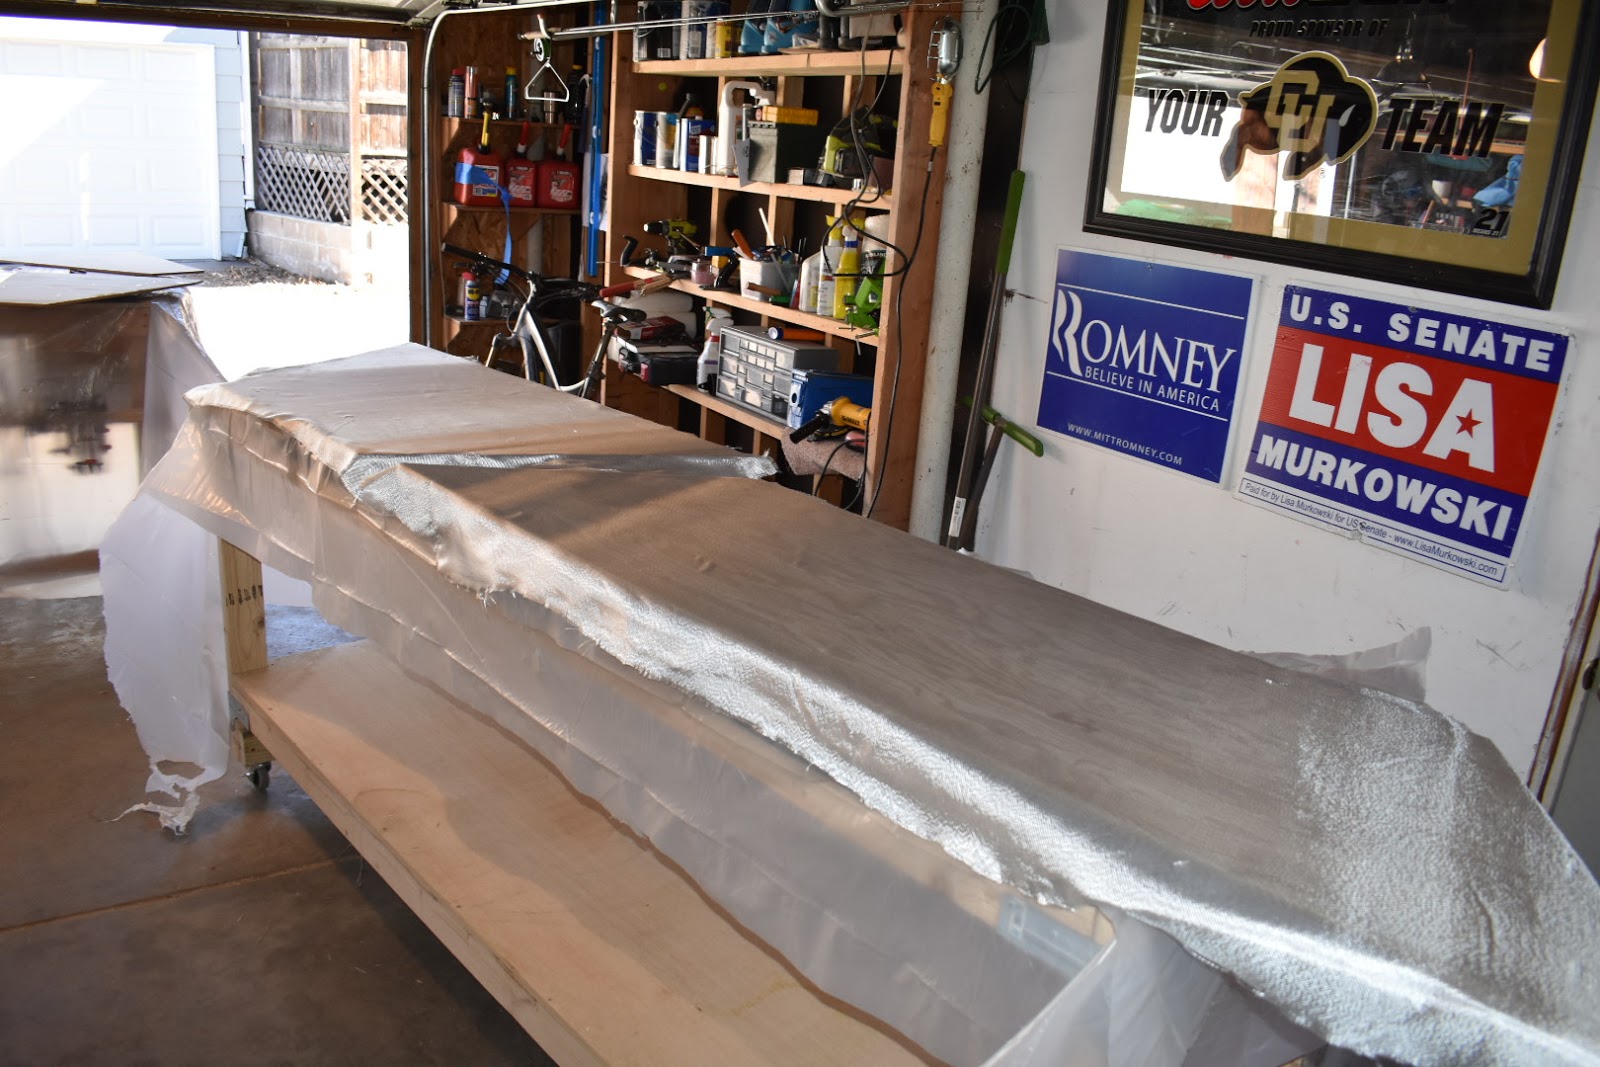
Above are the pieces after waiting a few days. Spoke to Greg Loehr from Epoxy Research about how long it should take to harden. He has been extremely helpful. We figured out that the epoxy didn't set because of the low temps.

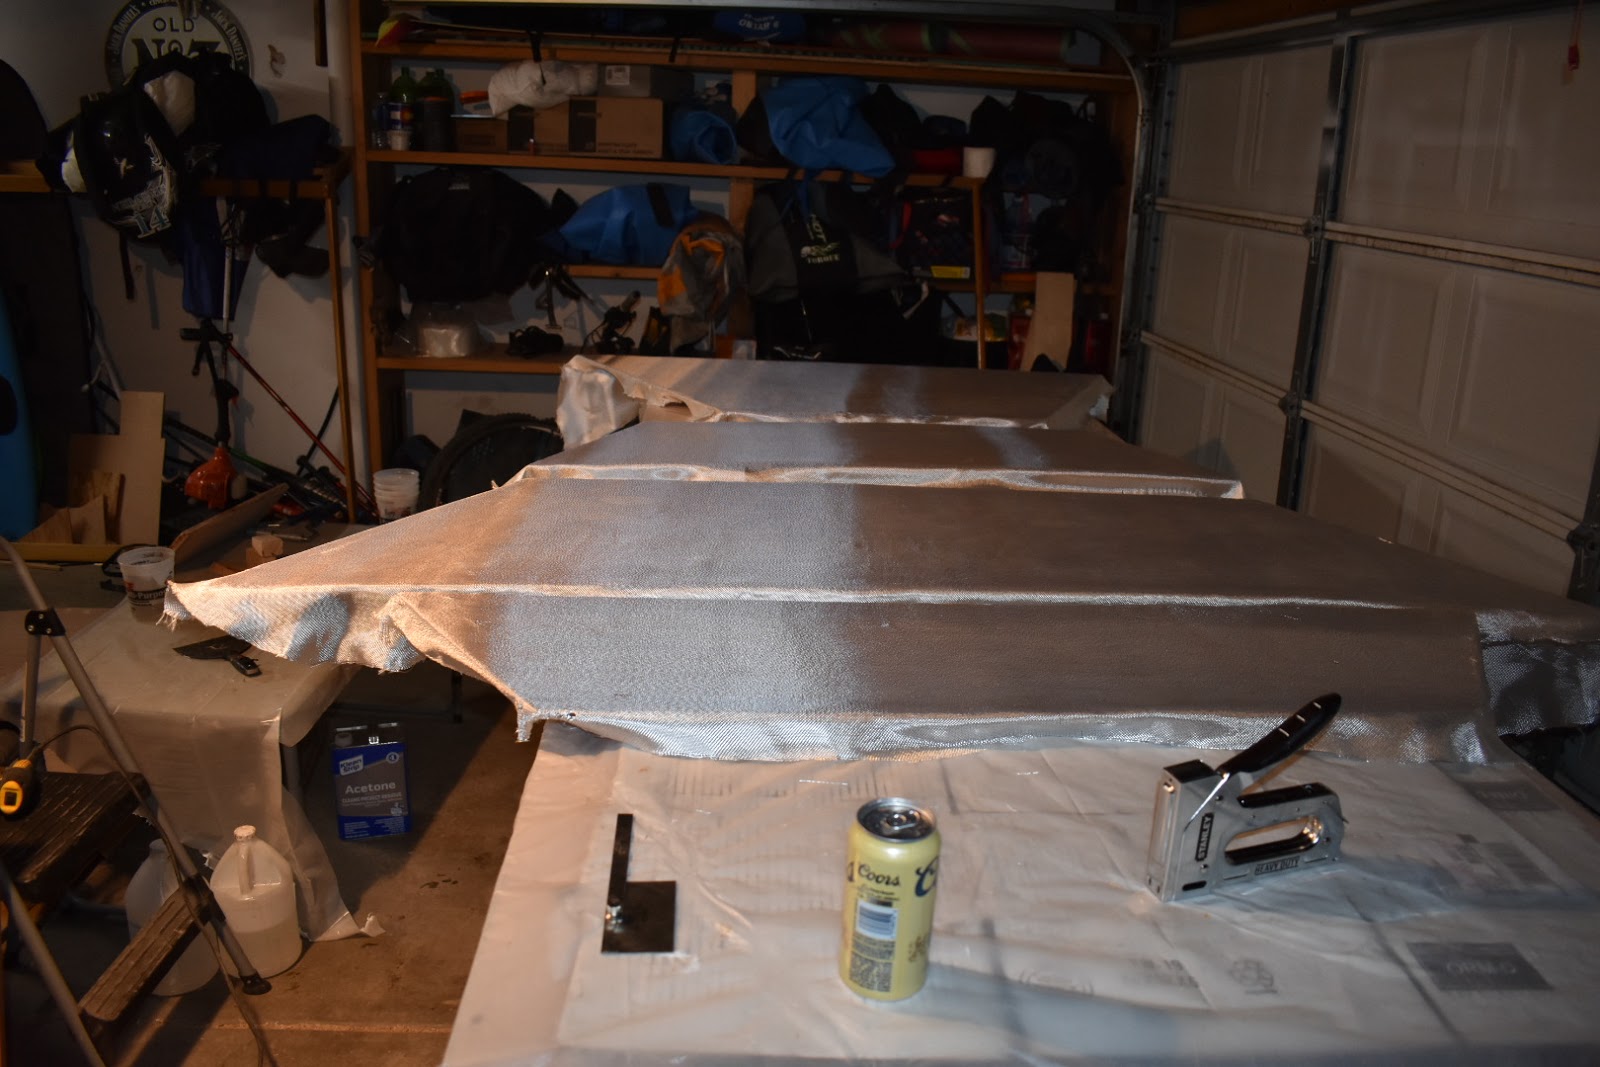
Second go around I used the dry method of applying the epoxy with patches of that were around 25 oz.  The pictures show the prep below, but the results were unreal. The epoxy hardened up and looks great. The 70 degree temps definitely helped.


So after a few trial and errors we have refined our method. First we made a bunch of blocks to go under the bulkheads so the epoxy doesn't drip under. 

The bowpost and transom have been more difficult than we had anticipated. The first bowpost and transom we cut to short and narrow. So we redid that. My advice for this is to leave plenty of room. Ripping the bevels with the table saw required some extra room.


Links: 
http://www.westtavaputs.com/2015/11/cutting-panels-glassing.html

Sharpening the Hand Plane

Sharpening the Hand Plane.

Sharpening the hand plane blade is a much more interesting task than I had originally thought. After a little research I decide to pick up a bench grinder and order some wet stones.

The sharpening stone and jig seem to be lost in the mail... could really use them help polish the edge off. I'm aiming to make the blade sharpen enough to shave my arm hairs. The links below help describe how to use the grinder and setup the hand plane. These two aspects of scarfing the joint have proven to be critical. Who would've thought that woodwork would required learning the skill of sharping tools.

Bench Grinder Basics:
http://www.finewoodworking.com/2012/04/05/bench-grinder-basics

Sharpening a Hand Plane:
https://www.youtube.com/watch?v=YUDUR-8lkLY

Restoring a Hand Plane:
https://www.youtube.com/watch?v=6EWXg9Y6_TU#t=667.038941

Sharpening and Setting the Bench Plane
https://www.youtube.com/watch?v=gE4yVgdVW7s

Every step of the way on this boat build has led to acquiring fascinating knowledge. The terminology is by far the best. Speaking of which, I scarfed the second side of the plywood. The hand plane is now sharp but I still need to practice more and hone it in more a stone. For now the belt sander has proven to get the job done. It is not the most accurate at first, but you get the hang of it. The whole goal here is to learn how to scarf a joint on the river before putting a hole in the boat.

Friday, February 3, 2017

Self Bailing Thoughts


While I have yet to get to certain aspects of the build, they still way heavily on my mind. Below are a few links that I have compiled on ideas for helping the boat self-bail.

Thru hull scuppers are sure to be the answer. That or just home made drainage systems. What I have learned so far is that you want to have large ports. 2" or bigger. Add them to the front and back passenger sets. If I'm going to add a bilge, better make it big 1000 GPH.

The game plan at the moment is to have two 2" PVC pipe draining the front and back passenger areas. The drain will go down through the seat and then through the side panels. The rowers footwell will have thru hulls with a scupper flap also exiting on either side of the boat.

I would like to add a bilge to both the front and back and run it off a large 12v Marine Battery. How I am going to accomplish this is beyond me at the moment. But for the rest of it, the links provide some useful information.

Thru hull drainage:
http://www.westtavaputs.com/2015/12/night-shift.html 
Links on Gutter Systems:
http://kellyneu.blogspot.com/2009/12/day-39.html 

How to drill the thru hull video.
https://www.wakemakers.com/resources/how-to-drill-fiberglass-and-install-thru-hull-fittings/

Discussion on self-bailing
http://www.montana-riverboats.com/phorum/read.php?3,9847,21137#msg-21137

Crazy drainage surf dories. 
http://www.pearsonunlimited.com/DorySpecs.html 


Saturday, January 28, 2017

Scarfs

Scarf


The fiberglass has arrived. The epoxy is soon behind it. Today I set up the edge of the bench with a metal strip to help support the end of the scarf cut. I plan on scarfing the 3/8" bottom 4 1/2" and the 1/4" sides with a 3" cut to get a nice 1:12 ratio. I have also decided to go with the hand plane method.

With the top piece of plywood staggered 3" back I started the scarf with the fore plane to remove the steps, then worked my way toward the bench plane to level it all out and then finished it off with a block plane and belt sander.


I practiced with some 3/8" boards with a 1:8 ratio cut. As you can see in the top picture, the lines were wavy. The picture below is closer to the finished product. I used the belt sander to help smooth it out once I had take out the steps with the various planes.


I have chosen to do the scarfs with the hand plane because it will be helpful to have the skill down for when I have to do river side repairs.


Here is a picture of my first scarf. It turned out to be a little bit harder on the 1/4". As you can see there was a tiny bit of tear out and its a little wavy for my liking. I plan an cleaning it up a little bit and getting to work on the rest of the scarfs.

After speaking with some of the silverbacks and going deep into the depths of the internet, I now know that I need to sharpen the handplane blade.

Sharpening the handplane turned out to be extremely beneficial.


Links of Gluing:
http://fretwaterlines.blogspot.com/2015_12_01_archive.html

Understanding Bench Planes:
http://www.popularwoodworking.com/tools/understanding_bench_planes

The Only Handplane you Need?
http://www.popularwoodworking.com/tools/woodworking-hand-tools/handplane-need

Scarfing Joints:
https://idiotintheboathouse.com/2015/01/09/scarfing-up-a-joint/

Thursday, January 26, 2017

First Cuts

 The shop continues to evolve. The fiberglass has been ordered. Can't wait for the epoxy to arrive.

In the meantime I measured out the bulkheads and hit them with the circular saw. Which just so happens to be 5". This takes it out of play for doing the scarfs.


Finished up the rest of the bulkheads and saved all the scrap materials for use later.

Next up is the transom/bowpost and doing the scarfs on the 1/4" plywood sides and 3/8" bottom.

Scarfs: Turns out there are many different processes and I have yet to make a decision on the process to use. Right now I am leaning toward the hand plane, or building a jig for the router (This seems like the cheapest and easiest option). Below is a handful of websites that go over the different processes.


Hand Plane:

Scarf Lengths:


Home made Jig:  
Home Made Jig


Sunday, January 22, 2017

Introduction, Building References, Bulkheads

Briggs Dory Build 


Day 1: The first cuts. We cut the 3/8" AB Marine Douglas Fir 4- Ply into the desired heights for the bulkheads. Next, will be making the diagonal cuts on the bulkheads to finish them off before glassing. 

I still need to clean out the garage a bit more to make room for the boat. The fiberglass and Epoxy orders have been placed so the building will be placed on hold until their arrival.
Notes: This was day one of actually creating sawdust. I have spend a ton of time researching. Below are some of the resources that I have been using. (Speaking of which, I'd like to thank everyone that has posted information on these forums and blogs. It has been extremely helpful and an inspiration)

Books:
Boatbuilding with Plywood by Glen L Witt
Drift Boats & River Dories by Roger L. Fletcher
Fiberglass Boatbuilding for Amateurs by Ken Hankinson
How to Fiberglass Boats by Ken Hankinson

Inspirational Books:
The Doing of the Thing by Buzz Holmstrom 
The Emerald Mile by Kevin Fedarko

Plans:
Andy Hutchinson - Grand Canyon Dory - Classic

Blogs:

Forum:

Sketup Models: Building multiple boats from different designs in sketchup really help me visualize how the build will go. Especially with getting the different bevels down on the bow and stern.